PRINTER SHOP
Printer Installation Guide
Welcome to our printer installation guide! If you’ve just purchased a printer from us and need help setting up, we’re here to make the process as smooth as possible. Follow the steps below to get your printer up and running in no time.
Below are the steps your should follow if you need help with Printer Installation, Setting up a Printer, Printer setup with Windows, Printer Setup with Mac book, If your Printer is Offline, If you need hep with Printer Drivers or need help to Setup a Printer
Unbox Your Printer
- 1. Carefully Remove Packaging: Open the printer box and remove all packaging materials, including protective foam, plastic, and any tape securing the printer.
- 2. Check Components: Ensure you have all necessary components, including the printer, power cord, ink or toner cartridges, and any installation CDs or manuals.
Choose a Location
- 1. Flat Surface: Place your printer on a stable, flat surface near your computer or network router.
- 2. Ventilation: Ensure there’s enough space around the printer for ventilation and to avoid overheating.
- 3. Connect the Printer
For Wired Printers
- 1. Power Connection: Plug the power cord into the printer and then into a power outlet.
- 2. Data Connection: Connect the printer to your computer using the provided USB cable. The computer should recognize the new hardware.
For Wireless Printers
- 1. Power On: Turn on your printer using the power button.
- 2. Connect to Wi-Fi:
- – Via Printer Menu: Use the printer’s control panel to navigate to the wireless settings. Select your Wi-Fi network and enter the password.
- – Via Computer: Alternatively, use the printer’s software on your computer to connect to the Wi-Fi network.
Install Printer Drivers
- 1. Using Installation CD: Insert the provided installation CD into your computer’s CD drive and follow the on-screen instructions.
- 2. Downloading from the Web: Visit the printer manufacturer’s website to download the latest drivers and software for your printer model. Follow the installation instructions.
Configure Printer Settings
- 1. Test Print: Print a test page to ensure the printer is set up correctly.
- 2. Adjust Settings: Configure print quality, paper size, and other settings as needed.
Troubleshooting
If you encounter any issues during installation, try the following:
- 1. Check Connections: Ensure all cables are securely connected and that the printer is turned on.
- 2. Reboot Devices: Restart both your printer and computer.
- 3. Update Drivers: Ensure you have the latest drivers installed from the manufacturer’s website.
- 4. Consult the Manual: Refer to the printer’s manual for model-specific troubleshooting tips.
Get Help
Still having trouble? Contact our support team for personalized assistance:
- Email: [email protected]
- Live Chat: Open Chat Box and speak to Agent
Thank you for choosing Phnx Professional. We’re here to help you every step of the way!
24×7 Online customer support

Simple

Instant

Affordable
Showing 1–10 of 11 results
-
Sale!
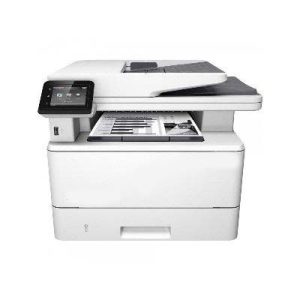
Color Refurbished Pro MFP M477FNW
$454.80$399.99 Add to cart -
Sale!
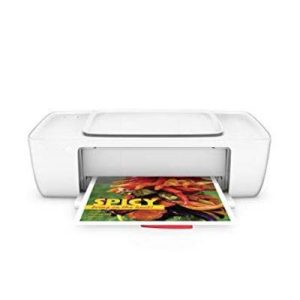
Refurbished 1112 Compact Printer (F5S23A)
$149.99$129.99 Add to cart -
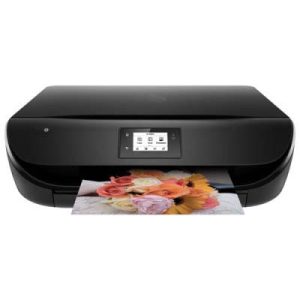
Refurbished 4520 Wireless All-In-One
$52.60 Add to cart -
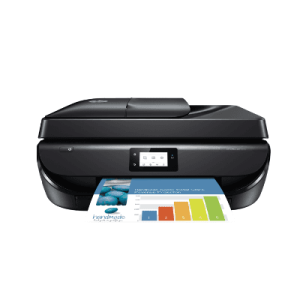
Refurbished 5255 ALL-IN-ONE PRINTER
$79.99 Add to cart -
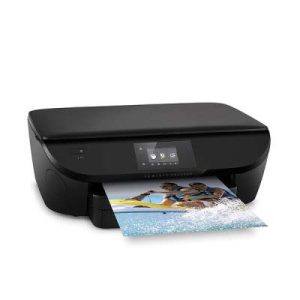
Refurbished 5660 Wireless All-In-One
$52.99 Add to cart -
Refurbished 7645 e-All-in-One Color Printer, Copier and Scanner
$86.40 Add to cart -
Sale!
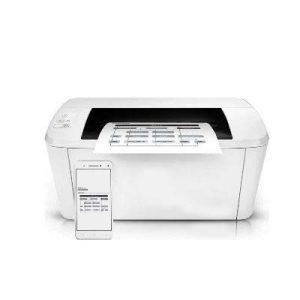
Refurbished PRO M15W PRINTER
$84.45$65.23 Add to cart -
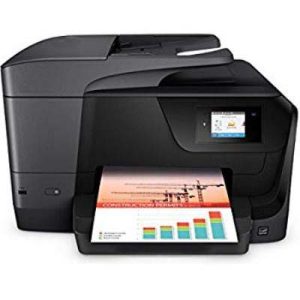
Refurbished Pro 6962 All-in-One Printer
$69.00 Add to cart -
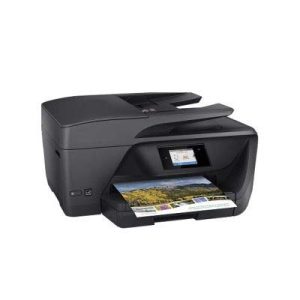
Refurbished Pro 6968 ALL-IN-One Printer
$84.45 Add to cart -
Sale!
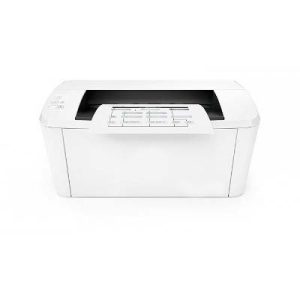
Refurbished Pro M15w Wireless Laser Printer
$69.78$59.12 Add to cart
Welcome to our printer installation guide! If you’ve just purchased a printer from us and need help setting up, we’re here to make the process as smooth as possible. Follow the steps below to get your printer up and running in no time. Below are the steps your should follow if you need help with Printer Installation, Setting up a Printer, Printer setup with Windows, Printer Setup with Mac book, If your Printer is Offline, If you need hep with Printer Drivers or need help to Setup a Printer If you encounter any issues during installation, try the following: Still having trouble? Contact our support team for personalized assistance: Thank you for choosing Phnx Professional. We’re here to help you every step of the way!
Printer Installation Guide
Unbox Your Printer
Choose a Location
For Wired Printers
For Wireless Printers
Install Printer Drivers
Configure Printer Settings
Troubleshooting
Get Help
24×7 Online customer support
